To photograph a car for sale like a pro, wash and detail the car, shoot outdoors during the soft light of early morning or late afternoon, and capture a consistent set of angles: three-quarter front and rear, both sides, interior, engine, and the odometer. Clean backgrounds and even light do most of the work. Great photos are the single biggest factor in whether a listing gets clicks, so this is where an hour of effort pays for itself many times over.
Prep the car before you touch the camera
Buyers judge care from the first frame. Ten minutes of prep beats any editing filter:
- Wash and dry the exterior; water spots read as neglect.
- Clean the glass, wheels, and tires; dress the tires for a subtle shine.
- Declutter the interior: remove phone mounts, trash, and personal items.
- Vacuum and wipe the dash, seats, and door panels.
- Retract wipers, close windows, and center the wheels straight.
Pick the right light and location
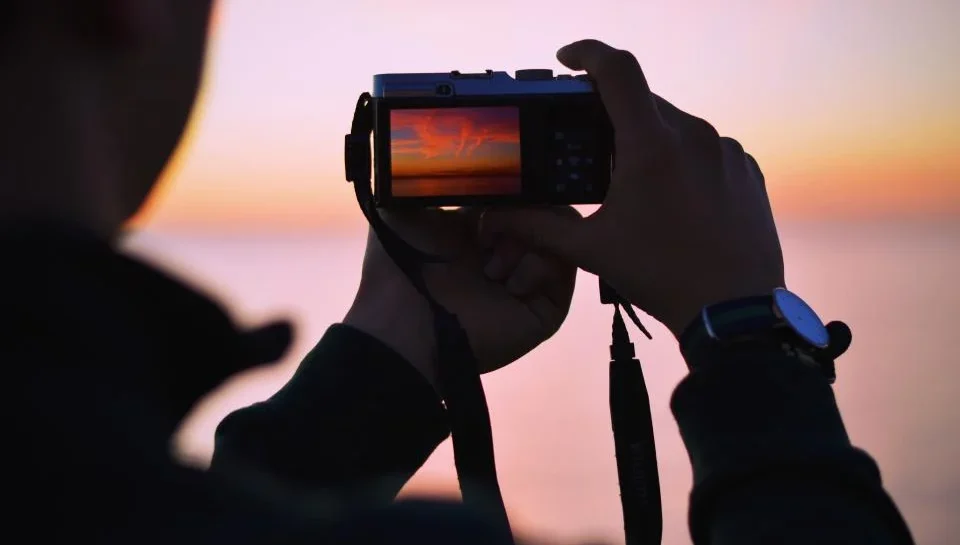
Lighting separates amateur snapshots from listings that look professional. Shoot during the golden hour, the hour after sunrise or before sunset, when light is soft and even. Avoid harsh midday sun, which creates glare and hard shadows on the bodywork. Overcast days work surprisingly well because clouds act as a giant softbox. For location, find a clean, uncluttered background: an empty lot, a quiet tree line, or a plain wall. Keep other cars, trash cans, and busy signage out of frame.
The exact shot list to capture
Consistency and completeness build buyer trust. Work through this list every time:
- Three-quarter front: your hero shot, taken from a slight angle showing the front and one side.
- Three-quarter rear: the mirror of the hero shot from behind.
- Both full sides and a straight-on front and rear.
- Wheels and tires close up, showing tread and condition.
- Interior: from the driver’s door, the dashboard, seats front and rear, and the cargo area.
- Odometer with the dash lit to prove mileage.
- Engine bay and, for higher-value cars, the undercarriage.
- Honest flaw shots: photograph any scratches, dings, or wear you disclose.
Camera settings and technique
A modern phone is more than enough; technique matters more than gear. Hold the phone at roughly bumper height, not eye height, so the car looks planted and powerful. Keep the whole vehicle in frame with a little breathing room, and shoot in landscape orientation for most listing platforms. Tap to lock focus and exposure on the bodywork, wipe the lens first, and steady your hands or brace against something to avoid blur. Take several frames of each angle so you have a sharp one to choose from.
Composition tricks the pros use
- Lead with the hero: the three-quarter front should be your first and best photo.
- Fill the frame with the car, but do not crop off bumpers or wheels.
- Watch reflections: shiny paint mirrors you and clutter, so move around until it is clean.
- Keep horizons level so the car does not look like it is rolling downhill.
- Shoot both sides equally; hiding a side signals damage to wary buyers.
Light editing, not heavy filters
Editing should make photos look accurate, not fake. Straighten the horizon, gently lift brightness and contrast, and correct color so the paint matches reality. Never use filters that change the car’s true color or hide flaws; buyers who feel misled walk away and leave bad reviews. The goal is the car on its best honest day.
Mistakes that make photos look amateur
Most weak car photos fail for the same handful of reasons. Avoid these and you are already ahead of most listings:
- Shooting from eye height, which shrinks the car and hides its stance. Drop to bumper height.
- Cluttered backgrounds with other cars, bins, or a messy garage stealing attention.
- Harsh midday sun creating glare, blown highlights, and hard shadows on the paint.
- Dirty glass and lens, which show up as haze and smears in every frame.
- Too few photos, which reads as hiding something. Complete galleries build trust.
- Crooked, tilted shots that make the car look like it is sliding out of frame.
Adapt your approach to the type of vehicle
A sports car, a family SUV, and a work truck each sell on different strengths, so shift emphasis accordingly. For a performance car, get low and capture the wheels, badging, and stance. For a family vehicle, emphasize a clean, spacious interior, the rear seats, and cargo room. For a truck, show the bed, towing setup, and any capability the buyer is paying for. Reading the buyer’s priority and photographing to it turns a generic gallery into one that speaks directly to the person most likely to buy.
Turn your photos into a listing that sells
Even perfect photos underperform if they sit in a plain classified thumbnail. Load your gallery into a polished digital brochure with Brochurify, where a clean layout puts your hero shot front and center and buyers can start a live chat the moment a photo grabs them. Every brochure gets a QR code, so photos you took this afternoon can be scanned off a windshield sticker tonight. Pair strong images with a sharp car for sale ad and you have a listing that does the selling for you. If you are moving quickly, our guide on how to sell a used car fast shows where photos fit in the wider process.
Frequently asked questions
What is the best time of day to photograph a car for sale?
The golden hour, the hour after sunrise or before sunset, gives soft, even light with no harsh glare. Overcast days also work well because clouds diffuse the light evenly across the bodywork.
How many photos should a car listing have?
Aim for at least ten to fifteen: three-quarter front and rear, both sides, interior, dashboard, odometer, engine, wheels, and honest shots of any flaws. More complete galleries build trust and get more replies.
Do I need a professional camera to photograph a car?
No. A modern smartphone is more than enough. Technique matters more: clean the car, shoot in good light, hold the phone at bumper height, and keep backgrounds simple and uncluttered.
Should I edit my car photos?
Light editing is fine: straighten, adjust brightness and contrast, and correct color to match reality. Avoid filters that change the true paint color or hide damage, as misleading photos cost you trust and sales.
Shot your gallery? Turn it into a shareable, QR-linked brochure with live chat, free, at brochurify.ai and let your photos start closing buyers.